Installing R, RStudio, and Packages
We will do all of the modeling (and other computational work) in this class with the open source (and free!) programming language R. You will use RStudio as the main program to access R. R is the language and what’s running “under the hood”, and RStudio is essentially a really user-friendly way to do what you want in R.
There are a few different ways to work with R and RStudio. For new users, I would recommend using the server. For anyone who has used R before, you can use the server or the desktop version.
Smith College RStudio Server
R is free, but it can sometimes be a pain to install and configure. Smith College runs it’s own version of RStudio that’s accessable through your web browser and won’t require installing anything. The Smith College RStudio Server is here, and you all should have accounts set up already. This is a great option for class – I strongly recommend anyone new to R and RStudio use this option. It requires a bit of uploading and downloading to get documents on and off the server (just like uploading and downloading from Google Drive, Dropbox, etc.), but otherwise is all set up with everything you need.
RStudio.cloud
Similar to the college server, RStudio.cloud is a cloud-based application of RStudio that run by RStudio, not by the College and its IT tesm. There will still be up/downloading like with the server, but the main advantage of this approach is that we can all share the same documents in a class “workspace”, which makes getting stared even a little easier. Part of the “Getting Started” assignment was to make an account – again, easiest if connected to your Smith Google account – and I will provide a link to a shared class workspace before we start using RStudio.cloud.
RStudio locally on your computer
The server and cloud approaches are great for probably 80% of what we’ll do in the class. For the other 20% – probably the group project work – these can be slower. If you want to work on RStudio locally on your computer, you certainly can. For anyone planning to take another SDS course, this might be a good approach at some point in the semester.
Here’s how you install all these things
Install R
First you need to install R itself (the engine).
- Go to the CRAN (Collective R Archive Network)1 website: https://cran.r-project.org/
Click on “Download R for
XXX”, whereXXXis either Mac or Windows: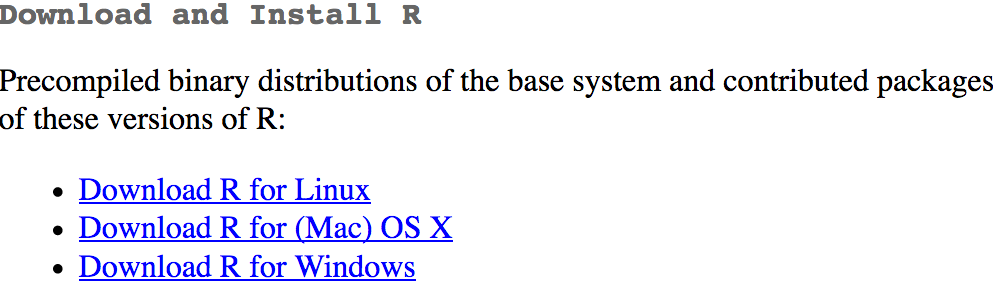
If you use macOS, scroll down to the first
.pkgfile in the list of files (in this picture, it’sR-3.5.1.pkg; as of right now, the current version is 3.6.1) and download it.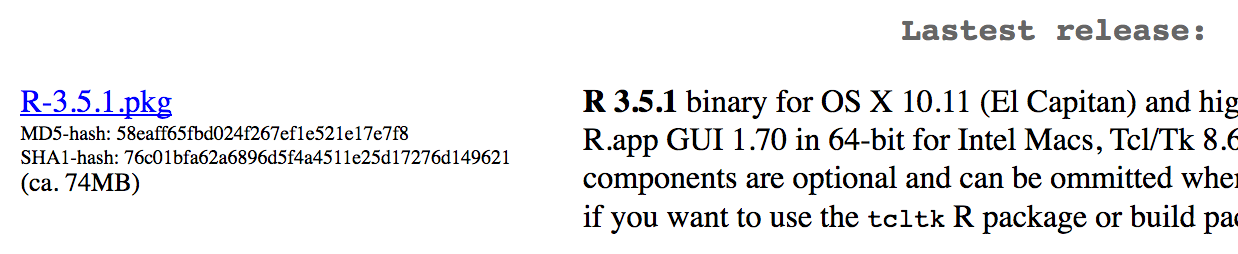
If you use Windows, click “base” (or click on the bolded “install R for the first time” link) and download it.

Double click on the downloaded file (check your
Downloadsfolder). Click yes through all the prompts to install like any other program.
Install RStudio
Next, you need to install RStudio, the nicer graphical user interface (GUI) for R (the dashboard). Once R and RStudio are both installed, you can ignore R and only use RStudio. RStudio will use R automatically and you won’t ever have to interact with it directly.
- Go to the free download location on RStudio’s website: https://www.rstudio.com/products/rstudio/download/#download
Select the installer that corresponds with your computer’s operating system (Windows or macOS):

Double click on the downloaded file (again, check your
Downloadsfolder). Click yes through all the prompts to install like any other program.
Double click on RStudio to run it (check your applications folder or start menu).
Install tidyverse
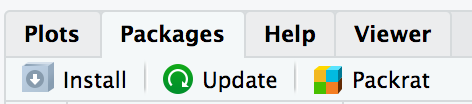
R packages are easy to install with RStudio. Select the packages panel, click on “Install,” type the name of the package you want to install, and press enter.
This can sometimes be tedious when you’re installing lots of packages, though. The tidyverse2 for instance, consists of dozens of packages that all work together. Rather than install each individually, you can install a single magical package and get them all at the same time.
Go to the packages panel in RStudio, click on “Install,” type “tidyverse”, and press enter. You’ll see a bunch of output in the RStudio console as all the tidyverse packages are installed.
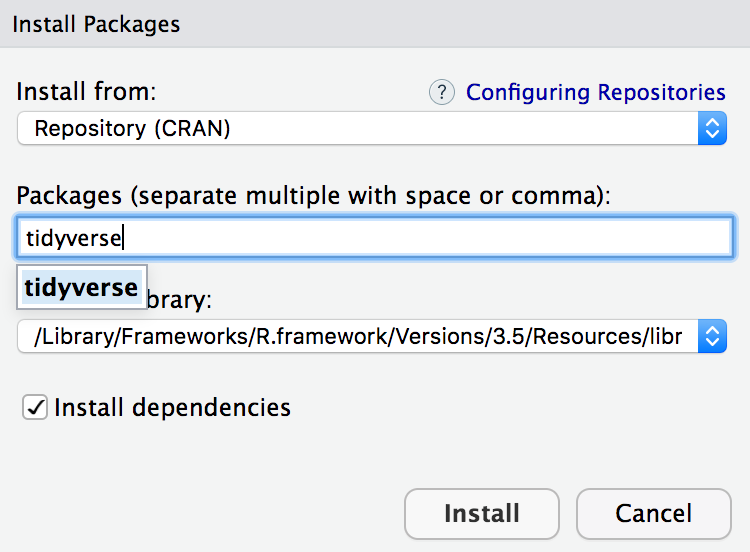
Notice also that RStudio will generate a line of code for you and run it: install.packages("tidyverse"). You can also just paste and run this instead of using the packages panel.
Install Stat2Data
The textbook for this course also has a package available with all of the datasets for the problems in the back of the book that we’ll be using for homework. You can repeat the steps above for Stat2Data instead of tidyverse or type the command directly into the console: install.packages("Stat2Data").
Note of thanks and attributions: This page was developed based on previously developed materials, especially Andrew Heiss, and is used here with appreciation and due attirbution.