How to Do Homework in RStudio
- Steps for Homework
- Sign into RStudio Server
- Upload the RMarkdown File
- Open, edit (including putting in your answers), and knit the file
- Export the file(s) from the server to your local computer.
- Upload the file(s) to Moodle for the HW assignment of interest.
- You’re done!
- If you are using RStudio locally (i.e., on your computer)
Steps for Homework
If you are new to R and RStudio, there’s another page in this section that provides a little more background on what R is, the terminology of R, and an introduction to the user interface of RStudio. Please (re-) read that before getting into the specific steps of how to use RStudio to complete your homework (which is below).
These instructions below are specific to using the RStudio Server, which you are encouraged to use. If you’re running RStudio locally on your desktop, you will have a different interface and process (see note below about additional software you need if running RStudio locally on your computer).
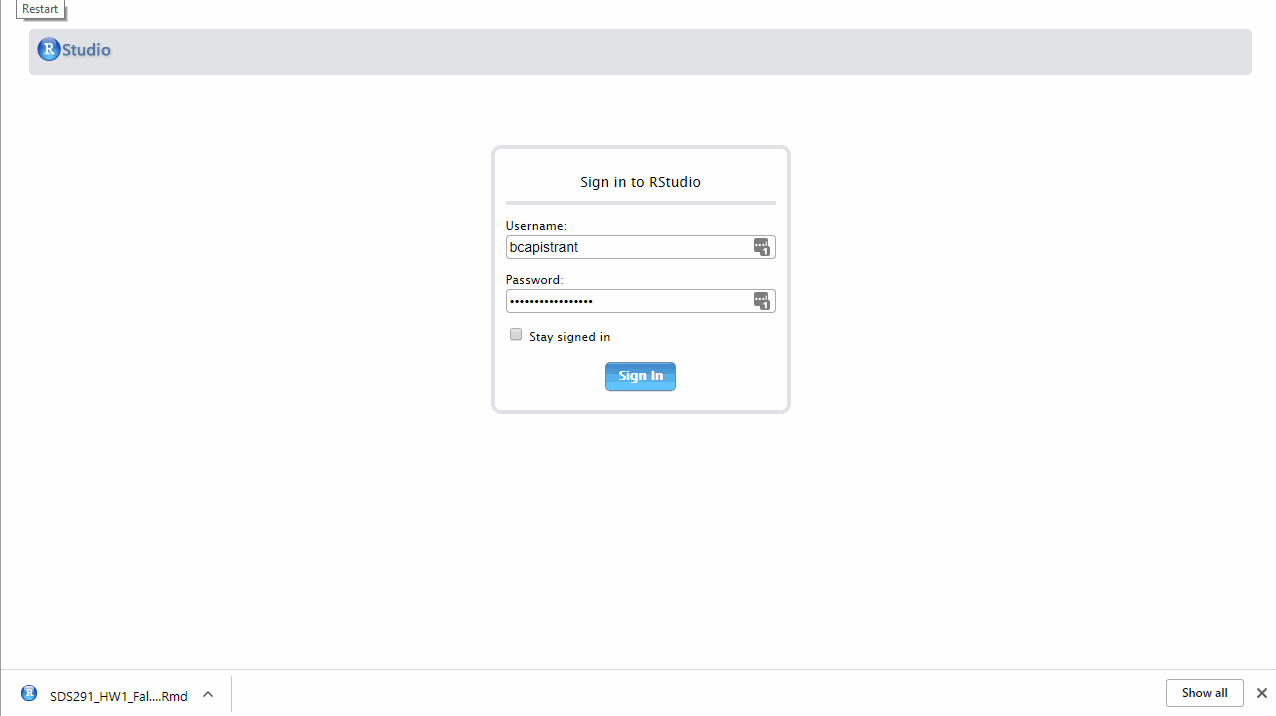
Sign into RStudio Server
Again, you’re encouraged to use the Smith College RStudio Server. Log in using your Smith username and password (i.e., same as for your email, BannerWeb, etc.)
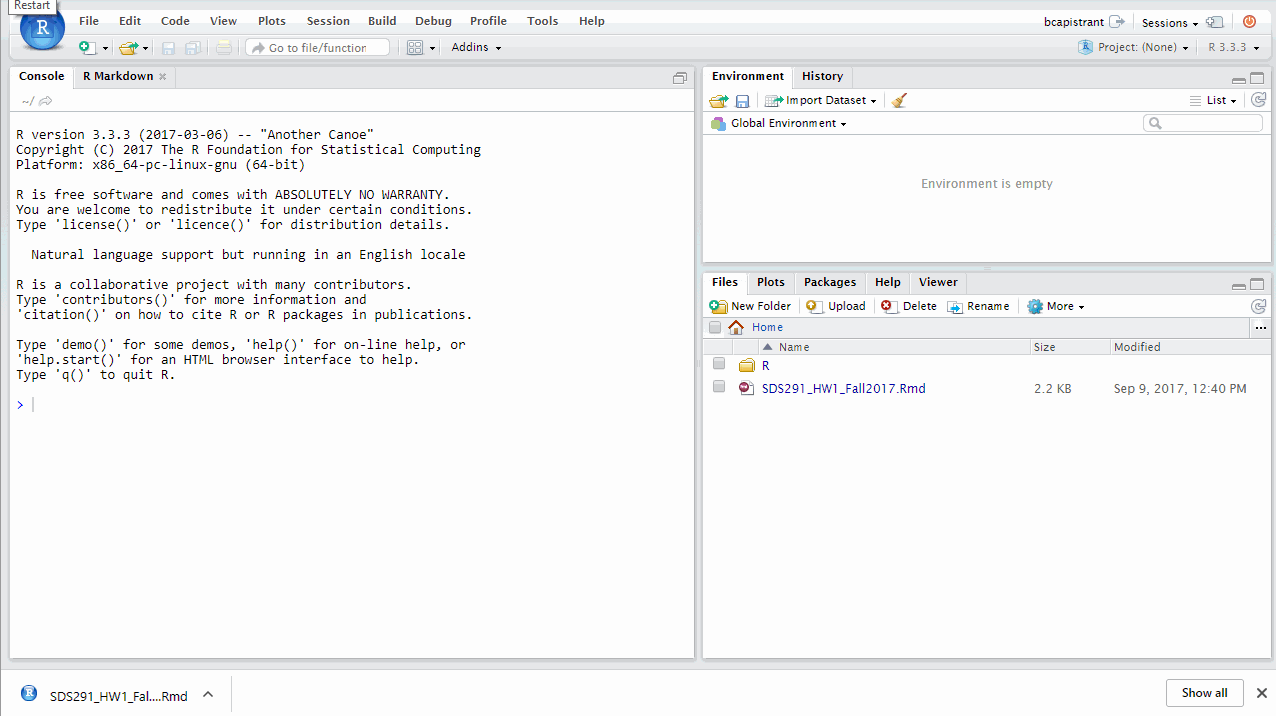
Upload the RMarkdown File
Click Upload on Files tab in the section of the Bottom-Right quadrant of the RStudio interface
Select the RMarkdown file from wherever you downloaded it onto your computer
Once you click “ok” and the file uploads, the file will appear in a list of all files located in your personal storage on the server.
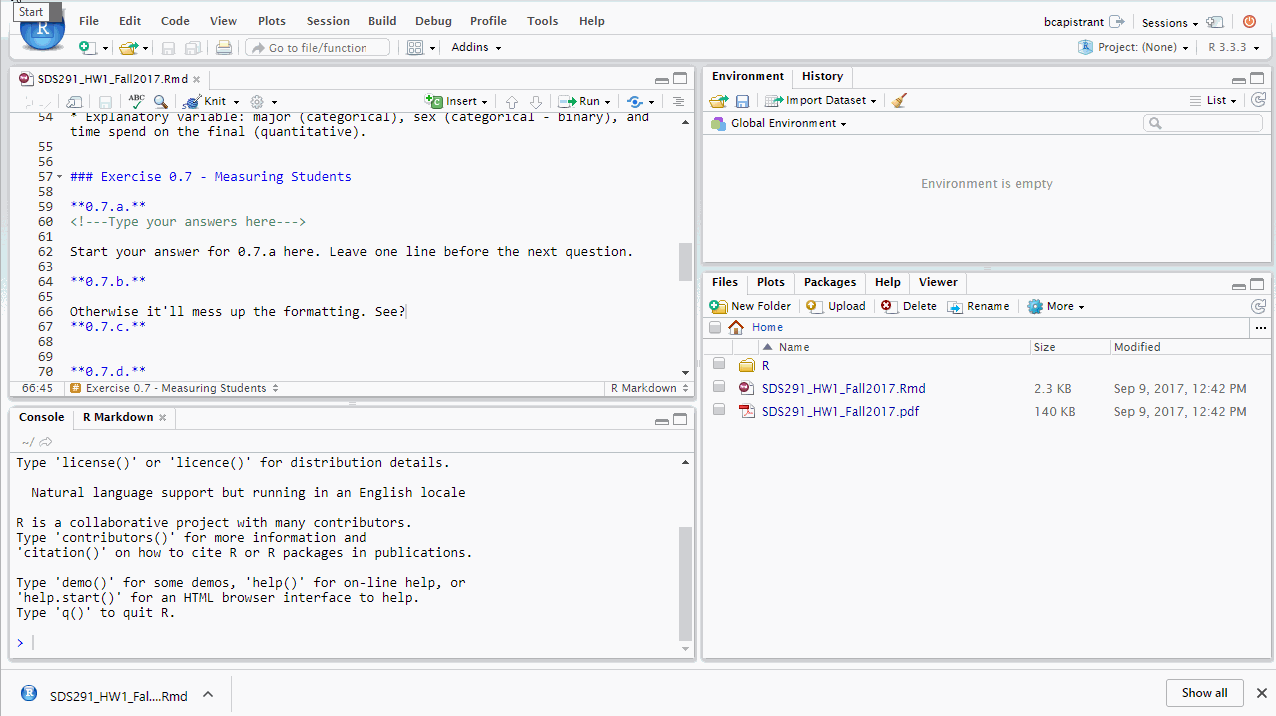
Open, edit (including putting in your answers), and knit the file
- To open the file, just click on the file name in the Files tab. It will open in the top left quadrant
To edit the file
Change your name and the date on the file in the header at the top of the file
Type in your answers under the prompts for each exercise section
As shown in the gif below, the document will be easier to read if put your answers in with a blank line before and after, but don’t worry too much about that for right now.
Save the file to save your work.
- You can also change the filename - to put your name in the filename, update a version number, etc. - with the File menu at the top left of the interface (File - > Save As). Just name it what you want, and add “.rmd” as the file extension. It’s good practice to rename files so as not to mistakenly overwrite older files, to make sure you upload the version of the file you intend to submit, etc.
Knit the file [see the bottom if you’re working locally, on your desktop version]
Click on the knit button/icon in the quandrant with your RMarkdown file. Knit runs the RMarkdown file and combines (or knits) the r code (we don’t have any yet, but you will) and text into the output format of your choice.
RStudio will pop up a new window with your knitted, output file. (Note, if you have a pop-up blocker, you may not see the file immediately – click “Try Again” to open the file)
Export the file(s) from the server to your local computer.
Select the file(s) you want to download from the Files tab in the bottom right
Select “More”, and then “export” to download the files from the server
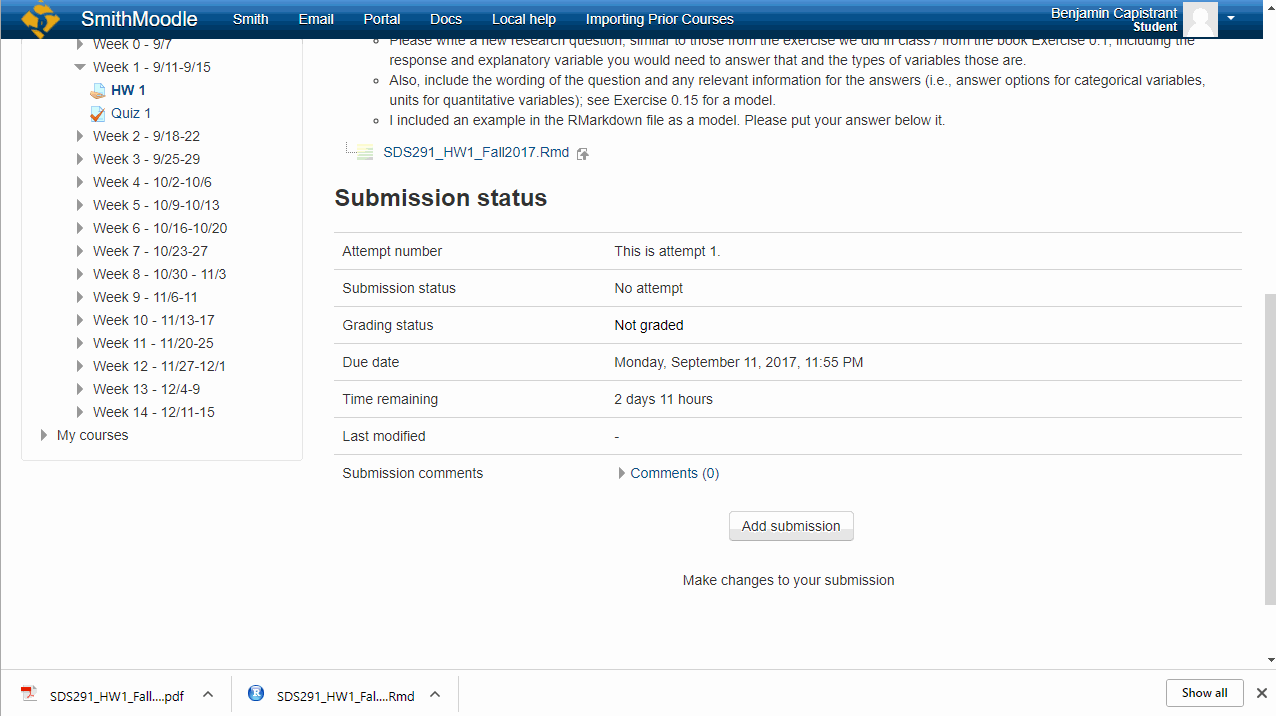
Upload the file(s) to Moodle for the HW assignment of interest.
You can click and drag files or select them from your documents.
You’re done!

If you are using RStudio locally (i.e., on your computer)
One challenge of working on your desktop - even potentially if you have used RStudio before! – is that you may need an additional piece of software to knit to a pdf. Specifically, RStudio uses TeX, an open source software program that takes markdown files like RMarkdown and can output them into a variety of formats, including Microsoft Word and .pdf. Download and install the version of TeX based on your operating system; if you were running RStudio, be sure to re-start it. Once TeX is installed, RStudio should immediately find the TeX program you installed and be able to knit to a pdf.
Simplest: install the TinyTeX package
More Robust: Dowload and install the full TeX software
Mac users: MacTeX http://tug.org/mactex/
Windows users: MikTeX http://miktex.org/download
This software is already installed on the server, and you should have no trouble knitting to a pdf from the server. This is a big reason, especially early in the semester, why using the the server is much easier.